What do we need?

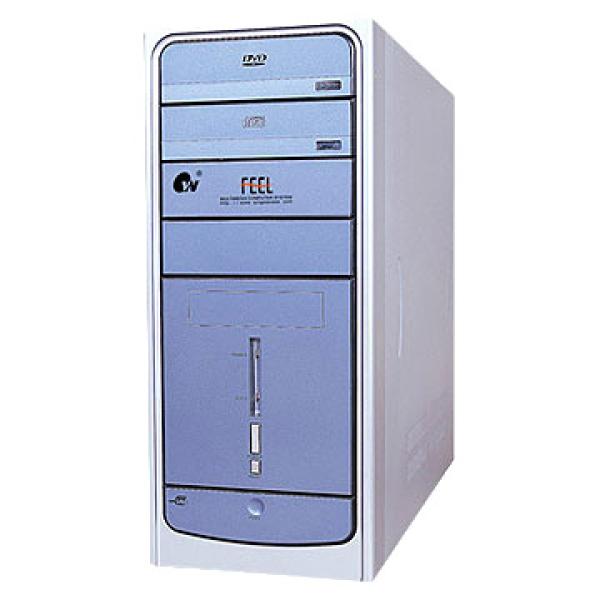
The Case
The case is the shell, like the clothing of the computer. A PC can technically work without it, but it would be a mess.

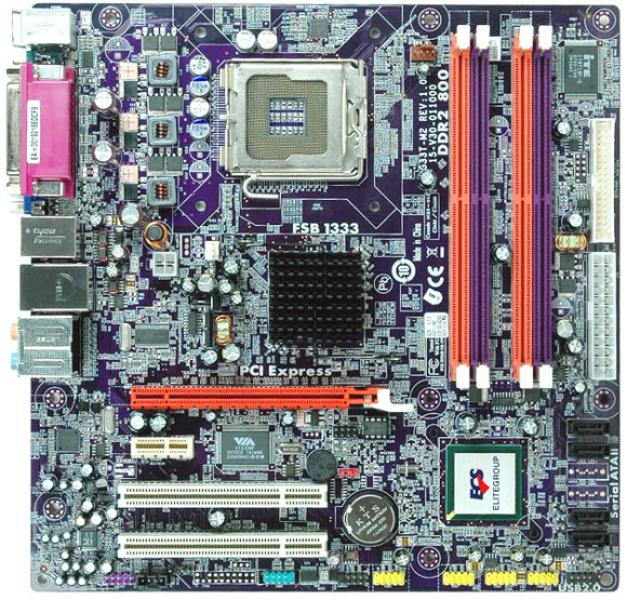
Motherboard
The motherboard is the most important part of the PC since all peripherals connect to it.

Memory
Memory is also essential to make the PC work. Without it, we couldn’t do anything. It allows us to perform several tasks at the same time; the more memory there is, the more we can do.

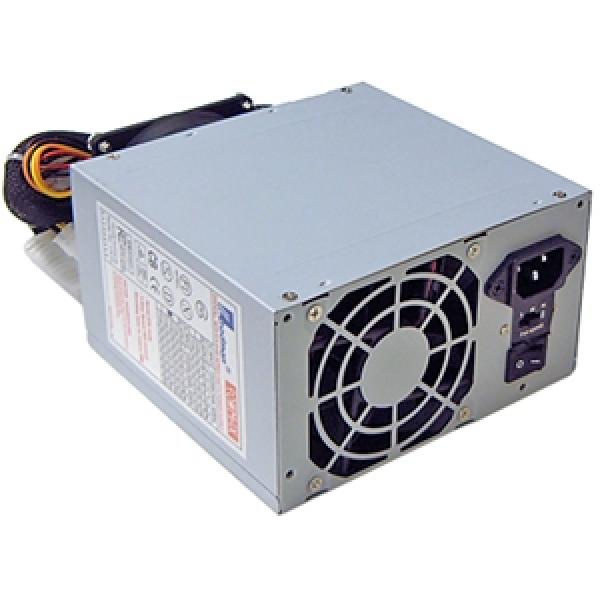
Power Supply
This component is responsible for delivering power to the computer to make it operate.

Hard Drive
The hard drive stores all information and the operating system. Without it, the computer can start, but there will be no base to work from.

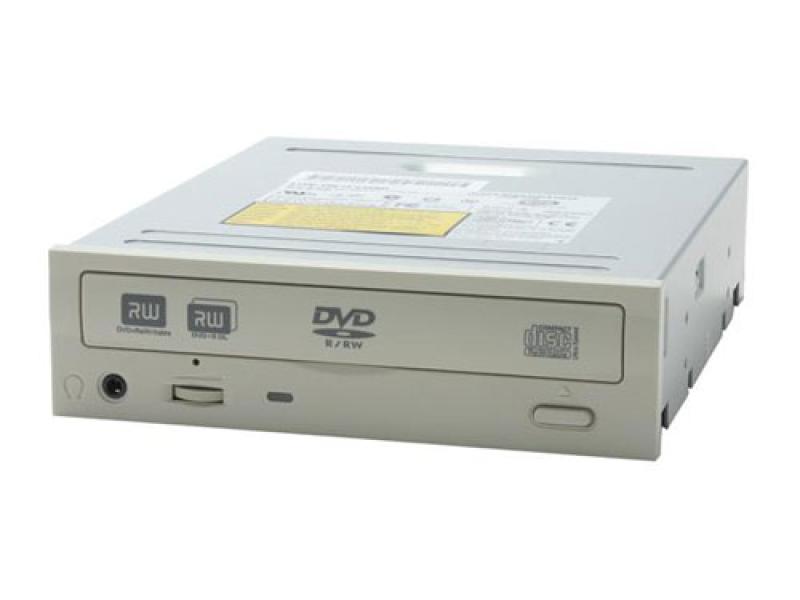
DVD Drive (optional)
This component is becoming less necessary every day, but we will include it for the appearance of the PC.
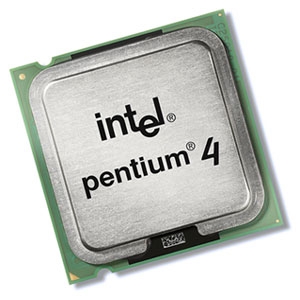
Processor
The processor determines the speed at which the computer will run.

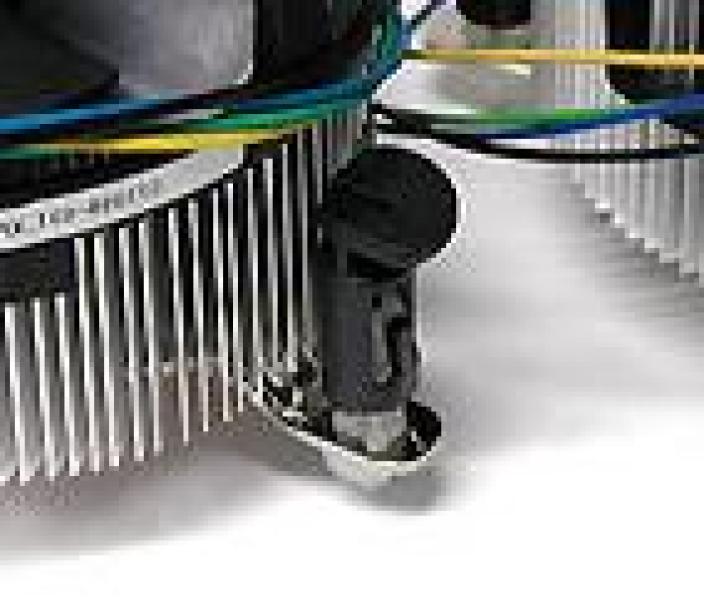
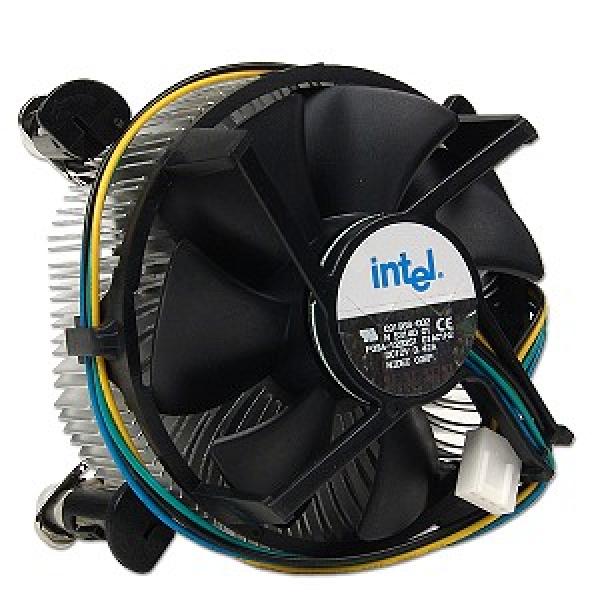
Processor Fan (Cooler)
The processor fan keeps the processor cool. Without it, the processor would overheat, causing the PC to shut down frequently and potentially causing damage.

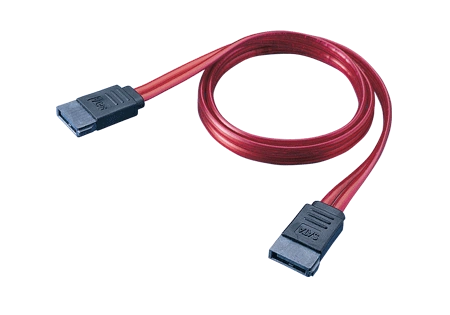
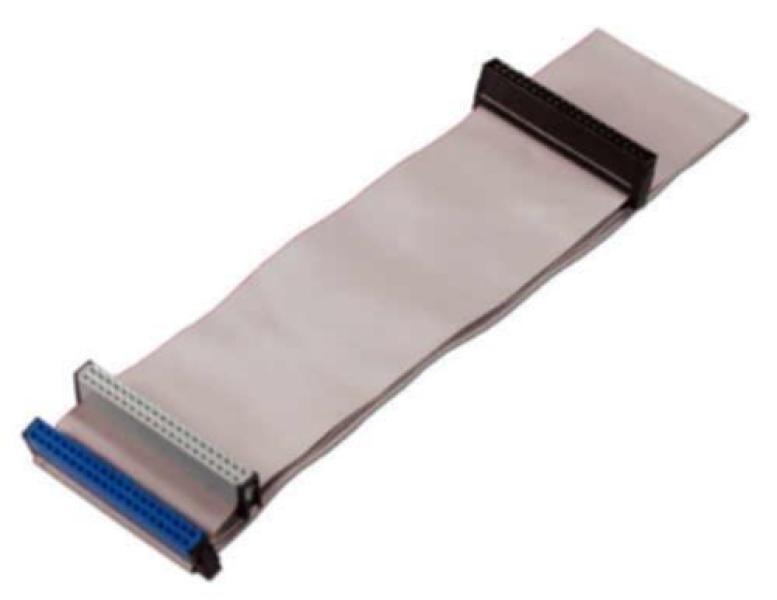
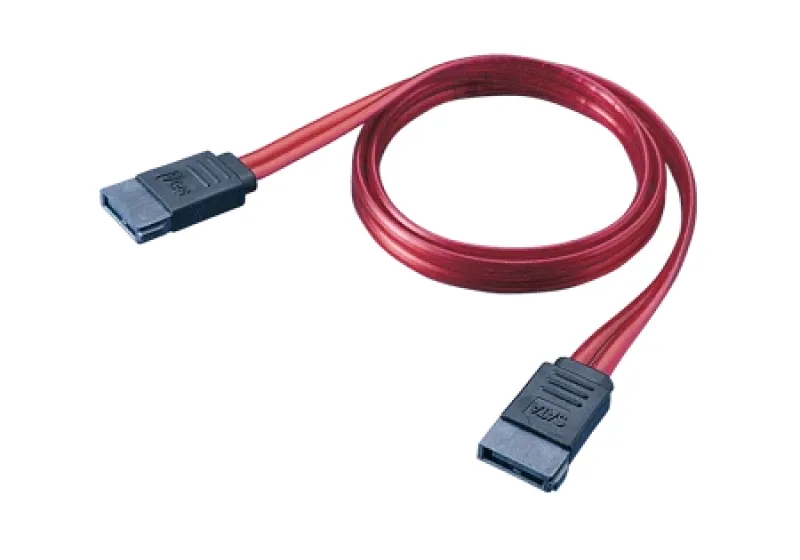
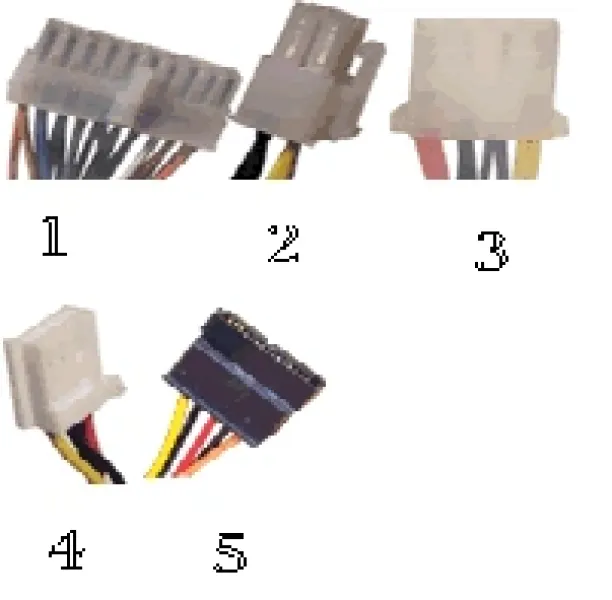
IDE or SATA Cable
This cable connects the hard drive or the DVD drive, depending on which you use. If the drive is SATA, use the SATA cable, and vice versa.

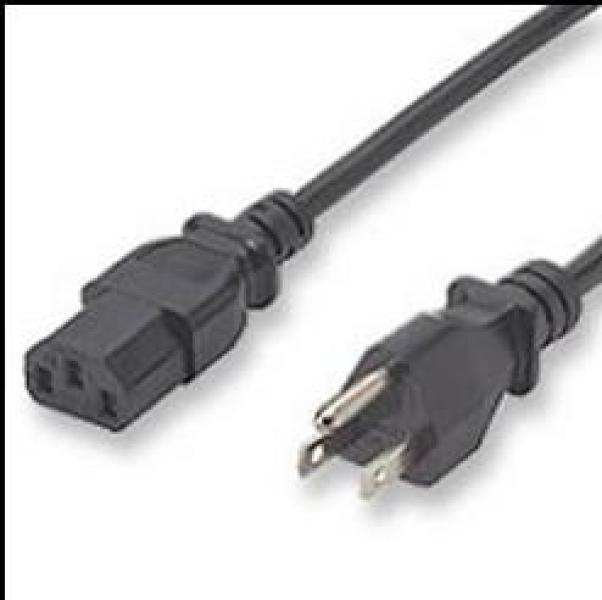
Power Cable
This cable supplies power to the power supply unit.

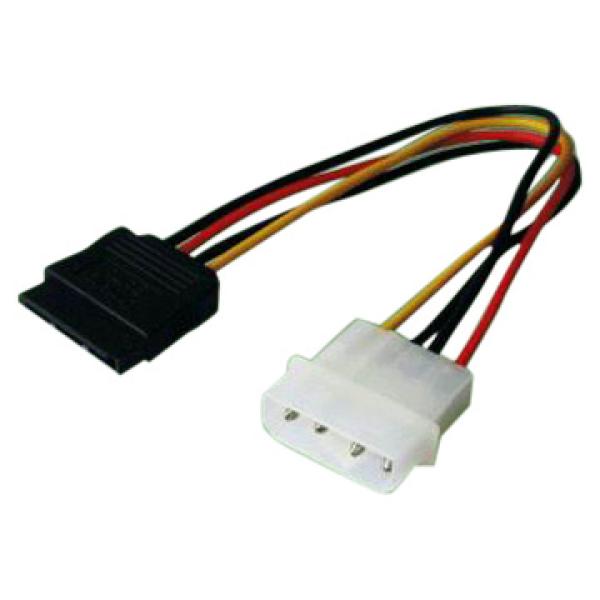
SATA Power Cable
This cable is used if the power supply doesn’t have a SATA connection to power the hard drive.

Thermal Paste
This paste is applied between the cooler and the processor to ensure proper cooling. It comes in white and silver; the silver type is recommended.
Where to Start?
Install the Motherboard
First, install the motherboard into the case. The motherboard comes with plastic pieces that prevent contact with the case, along with screws. Not all motherboards are compatible with every case, with ATX being the most commonly used format.
Unscrew the case cover, usually the left side when facing it. Place the case on its side, then place the motherboard inside, aligning the screw holes with those in the case. Do not overtighten the screws. Once the motherboard is in place, look for cables coming from the front of the case; these will connect to the motherboard. Check the motherboard manual for the correct connections—these cables are for powering on, resetting, and front panel lights.
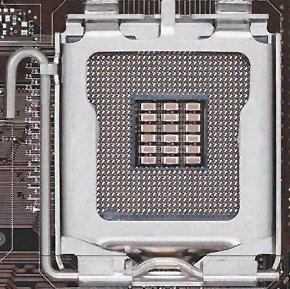
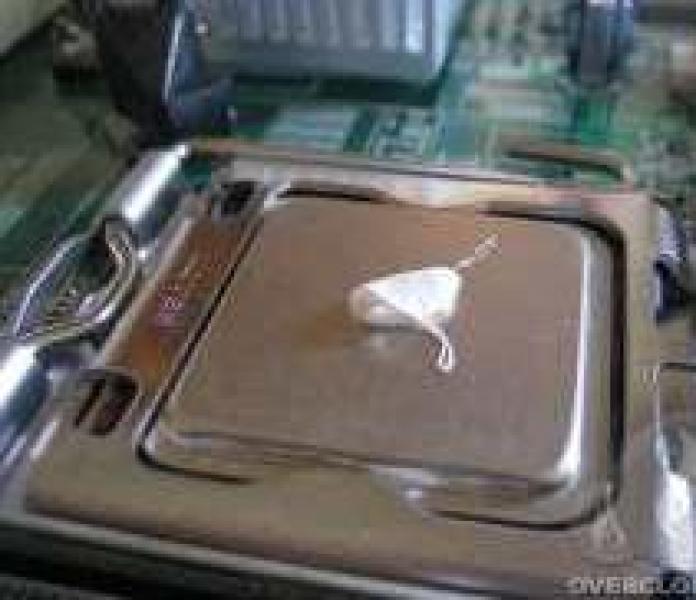
Install the Processor
Next, install the processor. It’s best to do this first, as leaving it for later could be very difficult.
Generally, an LGA 775 motherboard comes with a protective cover over the socket. Remove this plastic cover, lift the plate, then place the processor on the socket, aligning the marks on the processor with those on the socket. Avoid touching the socket or processor where they connect. Put the metal plate back down, press down on one corner, lower the lever, and secure it in place.
 With the processor in place, apply thermal paste on top of it, then immediately place the cooler on top, aligning the cooler’s legs with the holes on the motherboard. Press down each leg one at a time in a cross pattern. Connect the cooler’s cable to the “CPU Fan” connector on the motherboard. The processor is now ready.
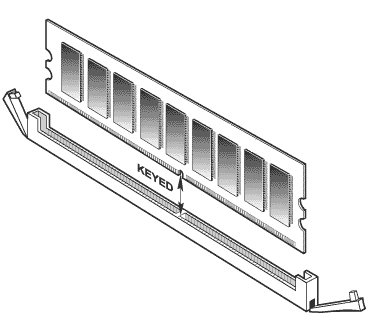
Connect the Memory
Now connect the memory. With this done, the computer is ready. All that’s left is to connect the power cable, mouse, keyboard, and monitor to start using it.